Pi2Design Pi2AES Pro Audio Shield
Tested at $199
Pros
- Clear and Incisive sound
- Big soundstage
- Exceptional value
Cons
- Plastic case is not that glamorous
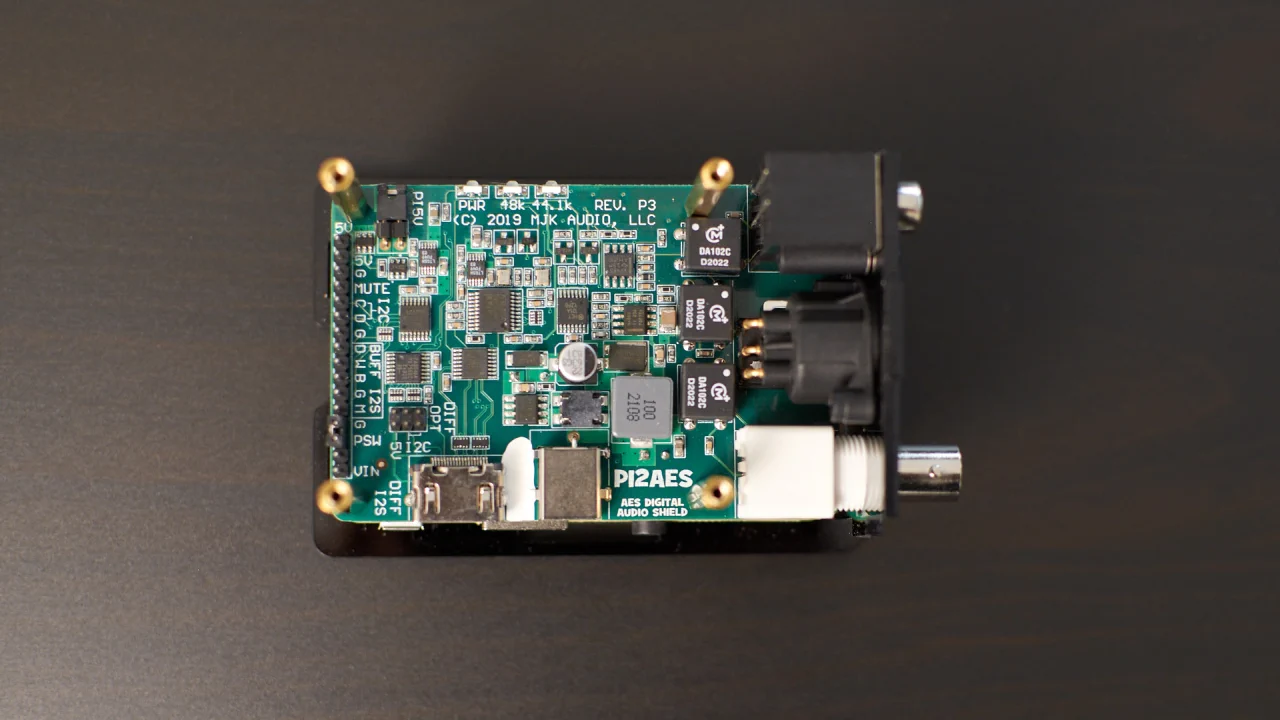
Pi2AES Pro Audio Shield is a Raspberry Pi add-on, or so-called HAT, produced by Pi2Design. It is a product meant to output a digital signal of a higher clarity than you would otherwise get on the USB outputs. By doing that, it aims to create a better digital audio source than your Raspberry Pi could provide. But this is equally true for any other computer and its inbuilt digital outputs. All those machines are very versatile and convenient, but providing a truly high-quality audio signal to your system was never one of their goals. So, can this HAT take one of these general-purpose computers such as Raspberry Pi, and turn it into a proper HiFi streamer? Let’s find out.
Connectivity and Casing
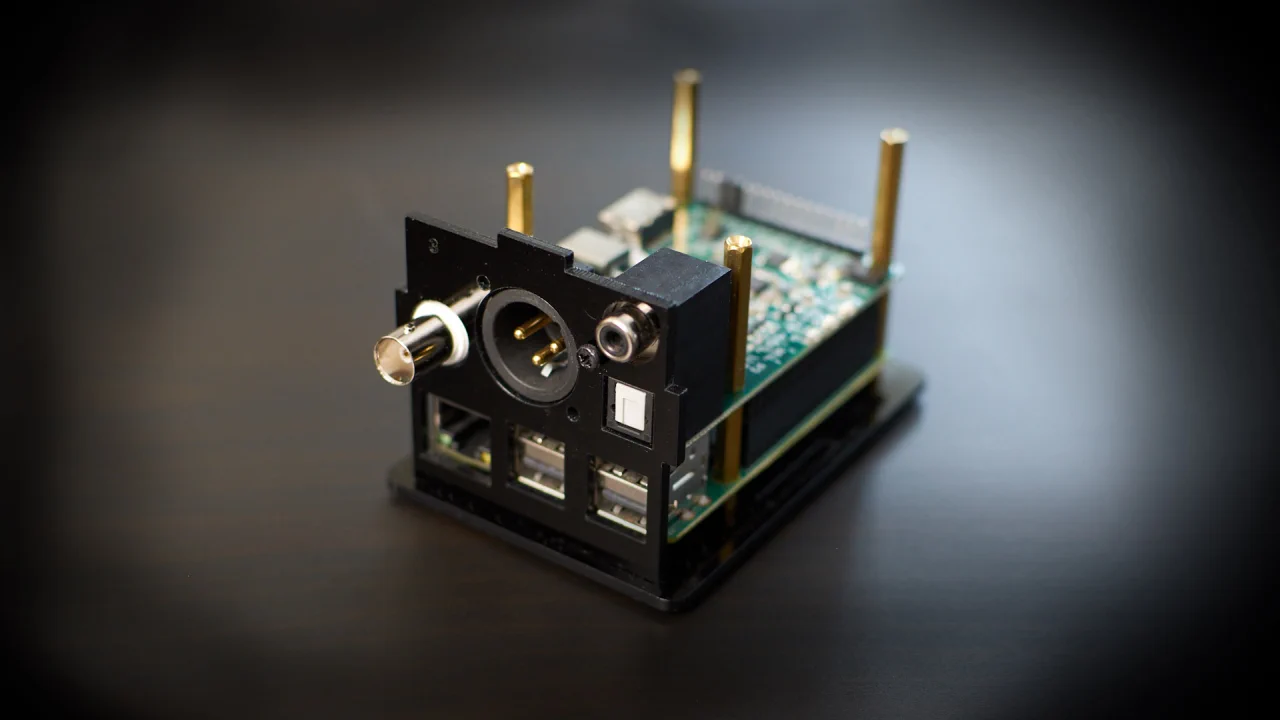
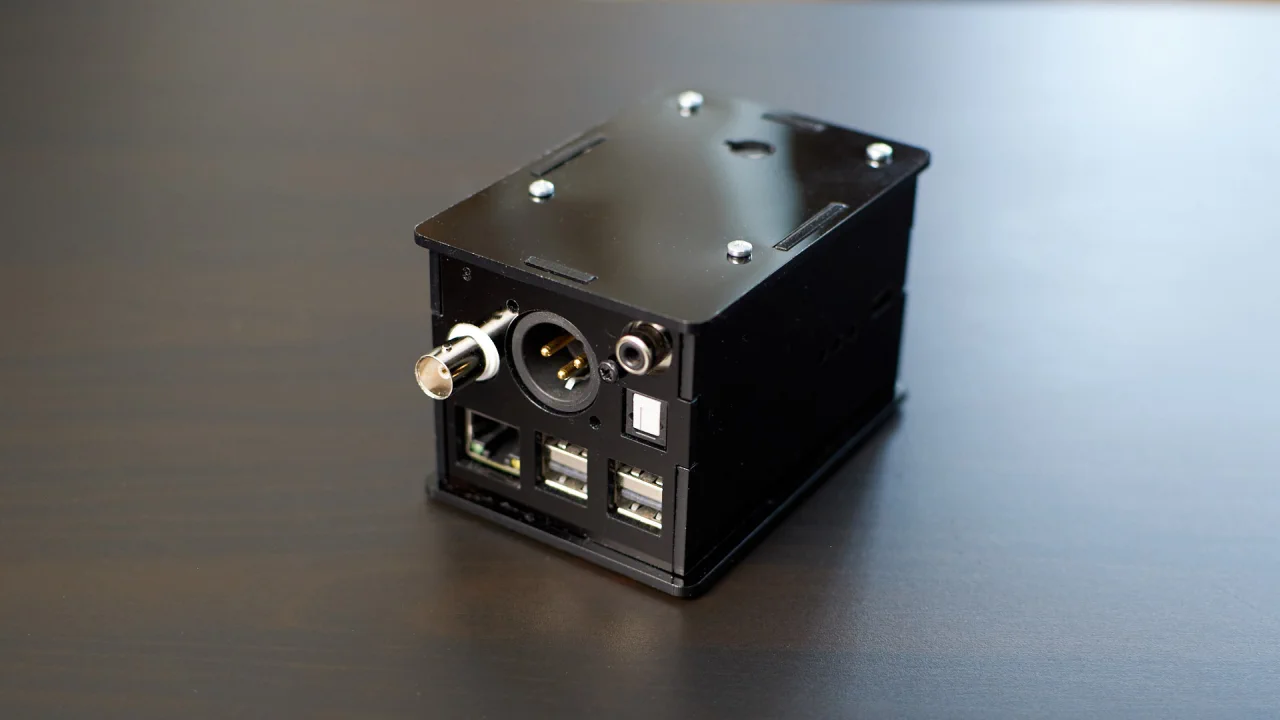
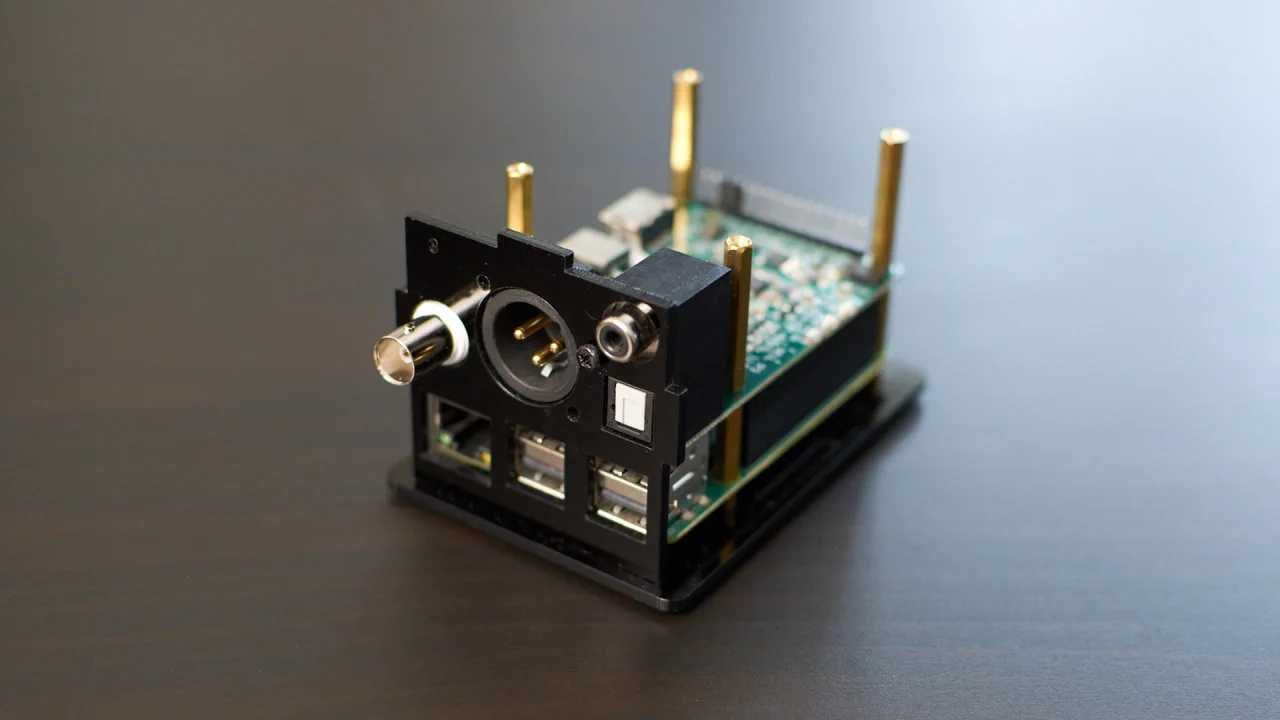
As with any other HAT standardized for use with a Raspberry Pi, Pi2AES is connected to the mainboard over the 40-pin GPIO header. Connecting these two is as simple as putting the HAT over the mainboard, aligning them, and pushing the HAT down. No cables of any sort or any advanced knowledge are required. Then you put acrylic sides in their places, just like playing with Lego. You do need to use a screwdriver to fasten a few screws here and there, but that’s the extent of the tool-wielding prowess needed for the whole action.
Worth noting is that one acrylic side of the case is different for Raspberry Pi 3 and 4 versions as the outputs on the mainboard are not in the exact same spot. Lucky for us, Pi2Design included both versions in the package, and you don’t need to think about it when ordering because you get both.
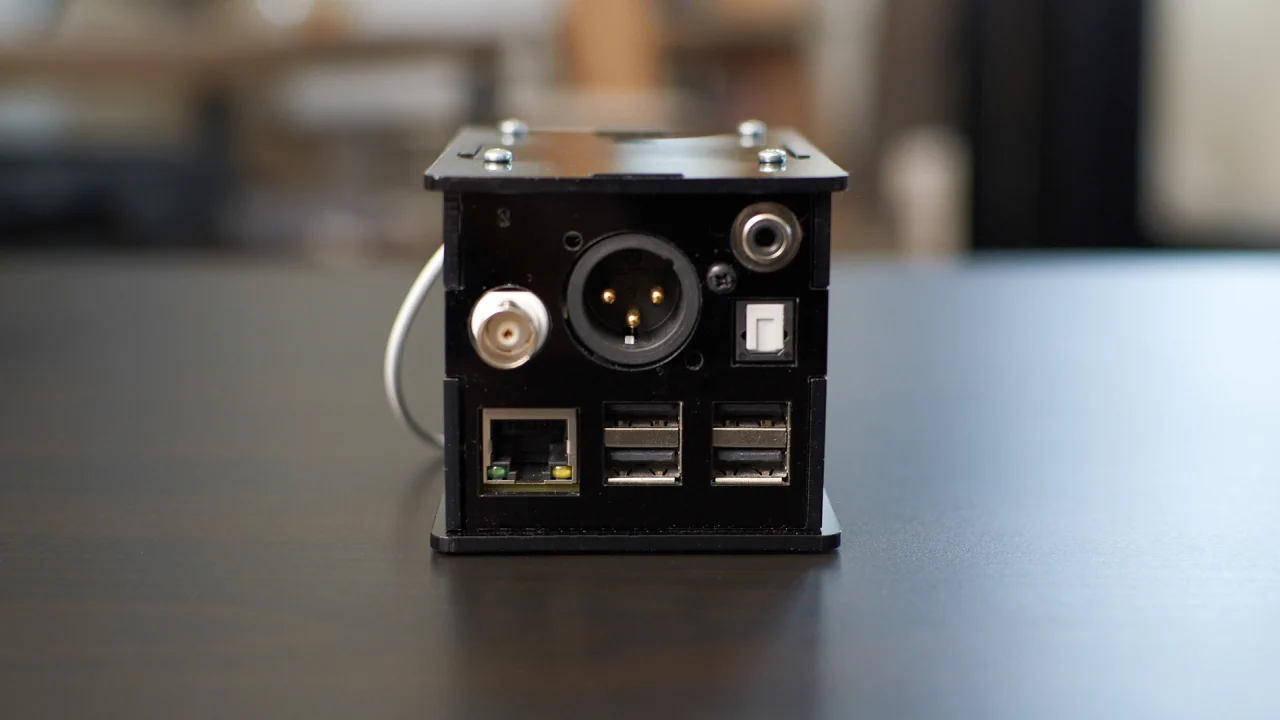
For the output side of things, Pi2AES offers a truly rich variety. Both Coaxial and Optical SPDIF are on board, then we have AES BNC, AES XLR, and finally I2S over HDMI. So as you might have noticed, almost every digital output you could ever wish for is included. That said, there is no USB output, so if you have one of those USB-only DACs then you’re out of luck.
Features
When it comes to features and what kind of streaming services are supported, that will completely depend on the operating system you decide to install on your Raspberry Pi. Covering all of this would be too big of a task in this review, but you can find out more about how to use R-Pi as a streamer in this tutorial. That said, I’m currently set on RoPieeeXL OS which enables me to connect my phone to a Raspberry Pi using UPnP protocol. The controlling app on the phone can be Bubble UPnP or Mconnect. Both of these can play local files as well as stream from high-quality online services such are Tidal and Qobuz. Spotify app can connect to the streamer also, and so can your PC if you use the appropriate player with UPnP capability.
So as you can see, the feature set can be very rich but you do have to spend some time and effort to set everything up initially. Once that’s done, Raspberry Pi and Pi2AES will work just like any other streamer. I leave mine on for months and it doesn’t need any sort of additional attention, it simply works.
Sound
If you’re one of those people believing that digital signal is always the same, feel free to skip this section. Without getting into the deep waters of how and why I stand firmly on the side that says otherwise. Digital source does make a difference and in a resolving system, it’s not a negligible one either. To cut a long story short, music streamed from Pi2AES sounds considerably better than the one played directly from my general-purpose PC. Every tone is audibly cleaner and more focused, while the space between individual tones is more obvious. The background is darker too and the sense of soundstage depth is much more pronounced. Spend some time listening to the music through Pi2AES and then go back to the PC, and you’ll probably feel that every note just got swollen to some extent. Bassline feels slower and more bloated, while all instruments sound more diffused and less defined. Further listening reveals that after tone is much more easily observed over the Pi2AES. Notes such as guitar string pluck linger longer and you hear them decay slowly and more gradually. Reverbs and spatial cues are recovered with ease, and when combined with that background darkness this creates a very convincing soundstage.
Comparisons
Allo DigiOne is another Raspberry Pi HAT with a lower price tag of just 99 USD. DigiOne has only SPDIF digital output, and you can opt for either RCA or BNC connector. No optical, AES, or I2S here. It sounds full and smooth with not much to complain about when listened to on its own. It is definitely an upgrade compared to a general-purpose computer or Raspberry Pi’s USB outputs. That said, it simply isn’t a match to Pi2AES that sounds cleaner, more focused, and more spacious. In a direct comparison, DigiOne is somewhat vailed and lacks a bit of air in the upper frequencies.
Allo DigiOne Signature is a much more fair competition. It was with me for one afternoon only and I never had a chance to directly compare it to Pi2AES, but I did compare both to DigiOne, in the same system, so I’ll try to draw a few impressions out of it. I remember that the Signature version was clearly more extended in the upper register and retrieved more details than regular DigiOne. It also separated instruments better and created a bigger soundstage. The same is true for Pi2AES, but if memory serves me well, Pi2AES has a slight lead when it comes to the background darkness and soundstage depth. Take this with a pinch of salt, because as I said this is an indirect comparison and those are never one hundred percent reliable.
iFi Zen Stream was again with me for one evening and I hope to get it on a longer loan for a full review sometime. That said, I did compare it with Pi2AES directly this time and I felt them be quite closely matched. When Zen Stream is put into its dedicated UPnP mode, it manages to sound more extended in highs, with more air around instruments. Its presentation is slightly more forward too, while Pi2AES pushes the whole soundstage back to some degree. Combining these two characteristics and Zen Stream sounds more detailed and more forward, while Pi2AES has a more laid-back presentation with slightly more soundstage depth. I’d call this a draw pretty much, and can imagine different listeners with different systems preferring one or the other. That said, Zen Stream has a much better build and a much more luxurious feel.
Lindemann Limetree Bridge has a sonic signature that is very closely matched to that one of Zen Stream. Most listeners would probably find it really hard to differentiate them. Given the existence of Pi2ES and Zen Stream which both offer better connectivity and comparable sound fidelity at a lower price point, Limetree Bridge will go through my grade adjusting process.
Conclusion
Pi2AES Pro Audio Shield is a mighty capable little board. If you like tinkering with hardware and software for yourself and don’t mind saving a bit of money in the process, a Raspberry Pi with Pi2AES will sonically match the best streamers under one thousand dollars. It might not have the luxurious feel of some pricier options, but play a few songs through it and you’ll quickly forget about it.
| PI2DESIGN PI2AES PRO AUDIO SHIELD – CHARACTERISTICS |
|
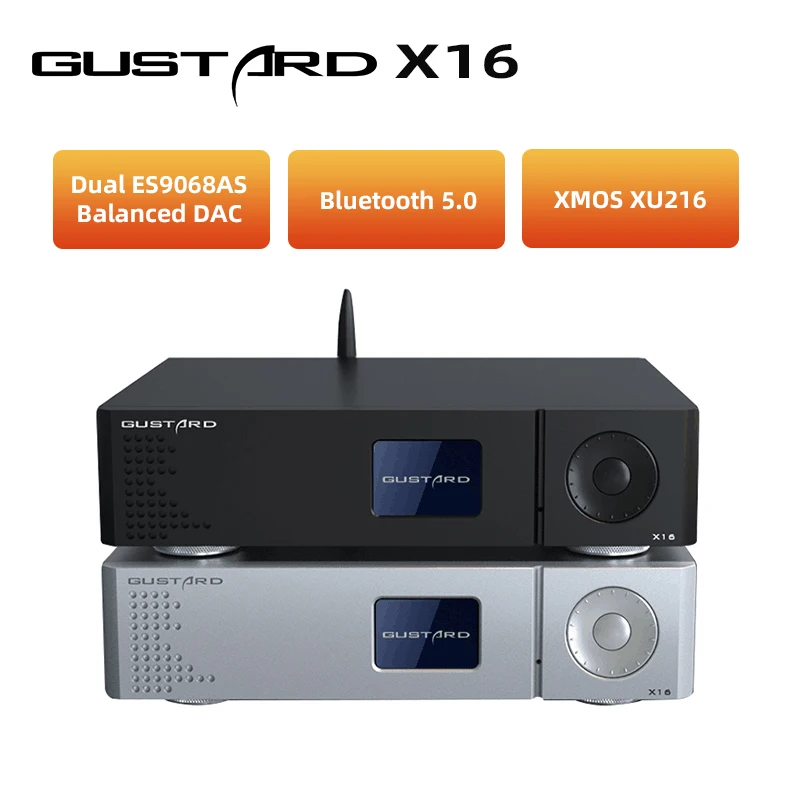
Power consumption: 0.1 W standby, 3.5 W operation AES TRANSMITTER – The industry standard WM8804 converts the RPi I2S stream to AES3/SPDIF formatted data at 24-Bit up to 192Khz Frame Rate SPDIF COAX OUTPUT – An RCA connector with Isolation Transformer provides coaxial transmission of the SPDIF Audio Data Stream. SPDIF OPTICAL OUTPUT – Isolated Optical Transmitter Supports Consumer Level DAC and AVR inputs AES BNC OUTPUT – A 75 ohm BNC connector with Isolation Transformer provides for Single Ended AES transmission. AES BALANCED OUTPUT – An RS-422 Transmitter coupled with Isolation Transformer allows the transmission of balanced audio data with 110 ohm impedance via the Professional Audio Standard XLR Connector BUFFERED I2S OUTPUT – Parallel Buffered I2S is available for direct short distance connection to off-board D/A. Perfect for DIY use! I2C for control is also provided as well as 5V Regulated and Input Voltage Rails DIFFERENTIAL I2S OUTPUT – A DS2063 Differential Transmitter is used to drive the I2S Bus via LVDS over a standard HDMI Connector. The Pinout is compatible with Gustard I2S Interface. PS Audio is possible, but the left/right channels will be swapped. |


I tried to purchase a Pi2AES Pro Audio Shield, but sadly they are no longer in production due to supply chain issues. There is however a replacement, the PI2AES-LITE PRO Audio HAT. I just got one of these and have found notable improvement in sound vs using the pi’s USB output. Based on your recommendation, I have also aquired an Allo Shanti dual power supply. This hat can either pull power from the Pi, or take power from it’s own input jack (you remove a jumper to make the switch). My dilemma is that if I do that, I will need three 5V power connections and the Shanti only provides 2 of these. Which 2 devices should get the linear power supply? Or should I just keep the Hat powered directly off the Pi and be done with it?
very intresing but i dont see the i2s connexion am i missing some thing ?
I2S is over an HDMI port on the side.
Where to buy
Here!
https://www.pi2design.com/
Hi Srboljub, I had the chance to test a second-hand Auralic Aries Mini at home. It was my first streamer and it beat my Mac with Audirvana very easily – superb detail, separation and depth, absolute black background. had to return it due to reliability issues.
Now I’m considering a new purchase: PI2AES, an Aries Mini that works or an Eversolo, although I don’t know if the price difference is worth it.
thanks for reading!